

Digital Literacies.
Tech Tips - Video
Tech Tips - Video

Video
Many of us have access to devices that can capture higher quality vision and audio, ranging from mobile phones and tablets, to action cameras and affordable, professional consumer video cameras. But capturing video sometimes requires more thought than just pressing the 'record' button.
Here are some handy tips to get you going!
Let's get to the tips!
Make sure you have a plan
There are lots of ways you can plan this - but storyboarding can be a great way to sync your ideas, images and sound together. Like any good story, a start, middle and end will make your video engaging and connect to your audience.
Take a look at a short [2:36] video explaining how to tell digital stories.
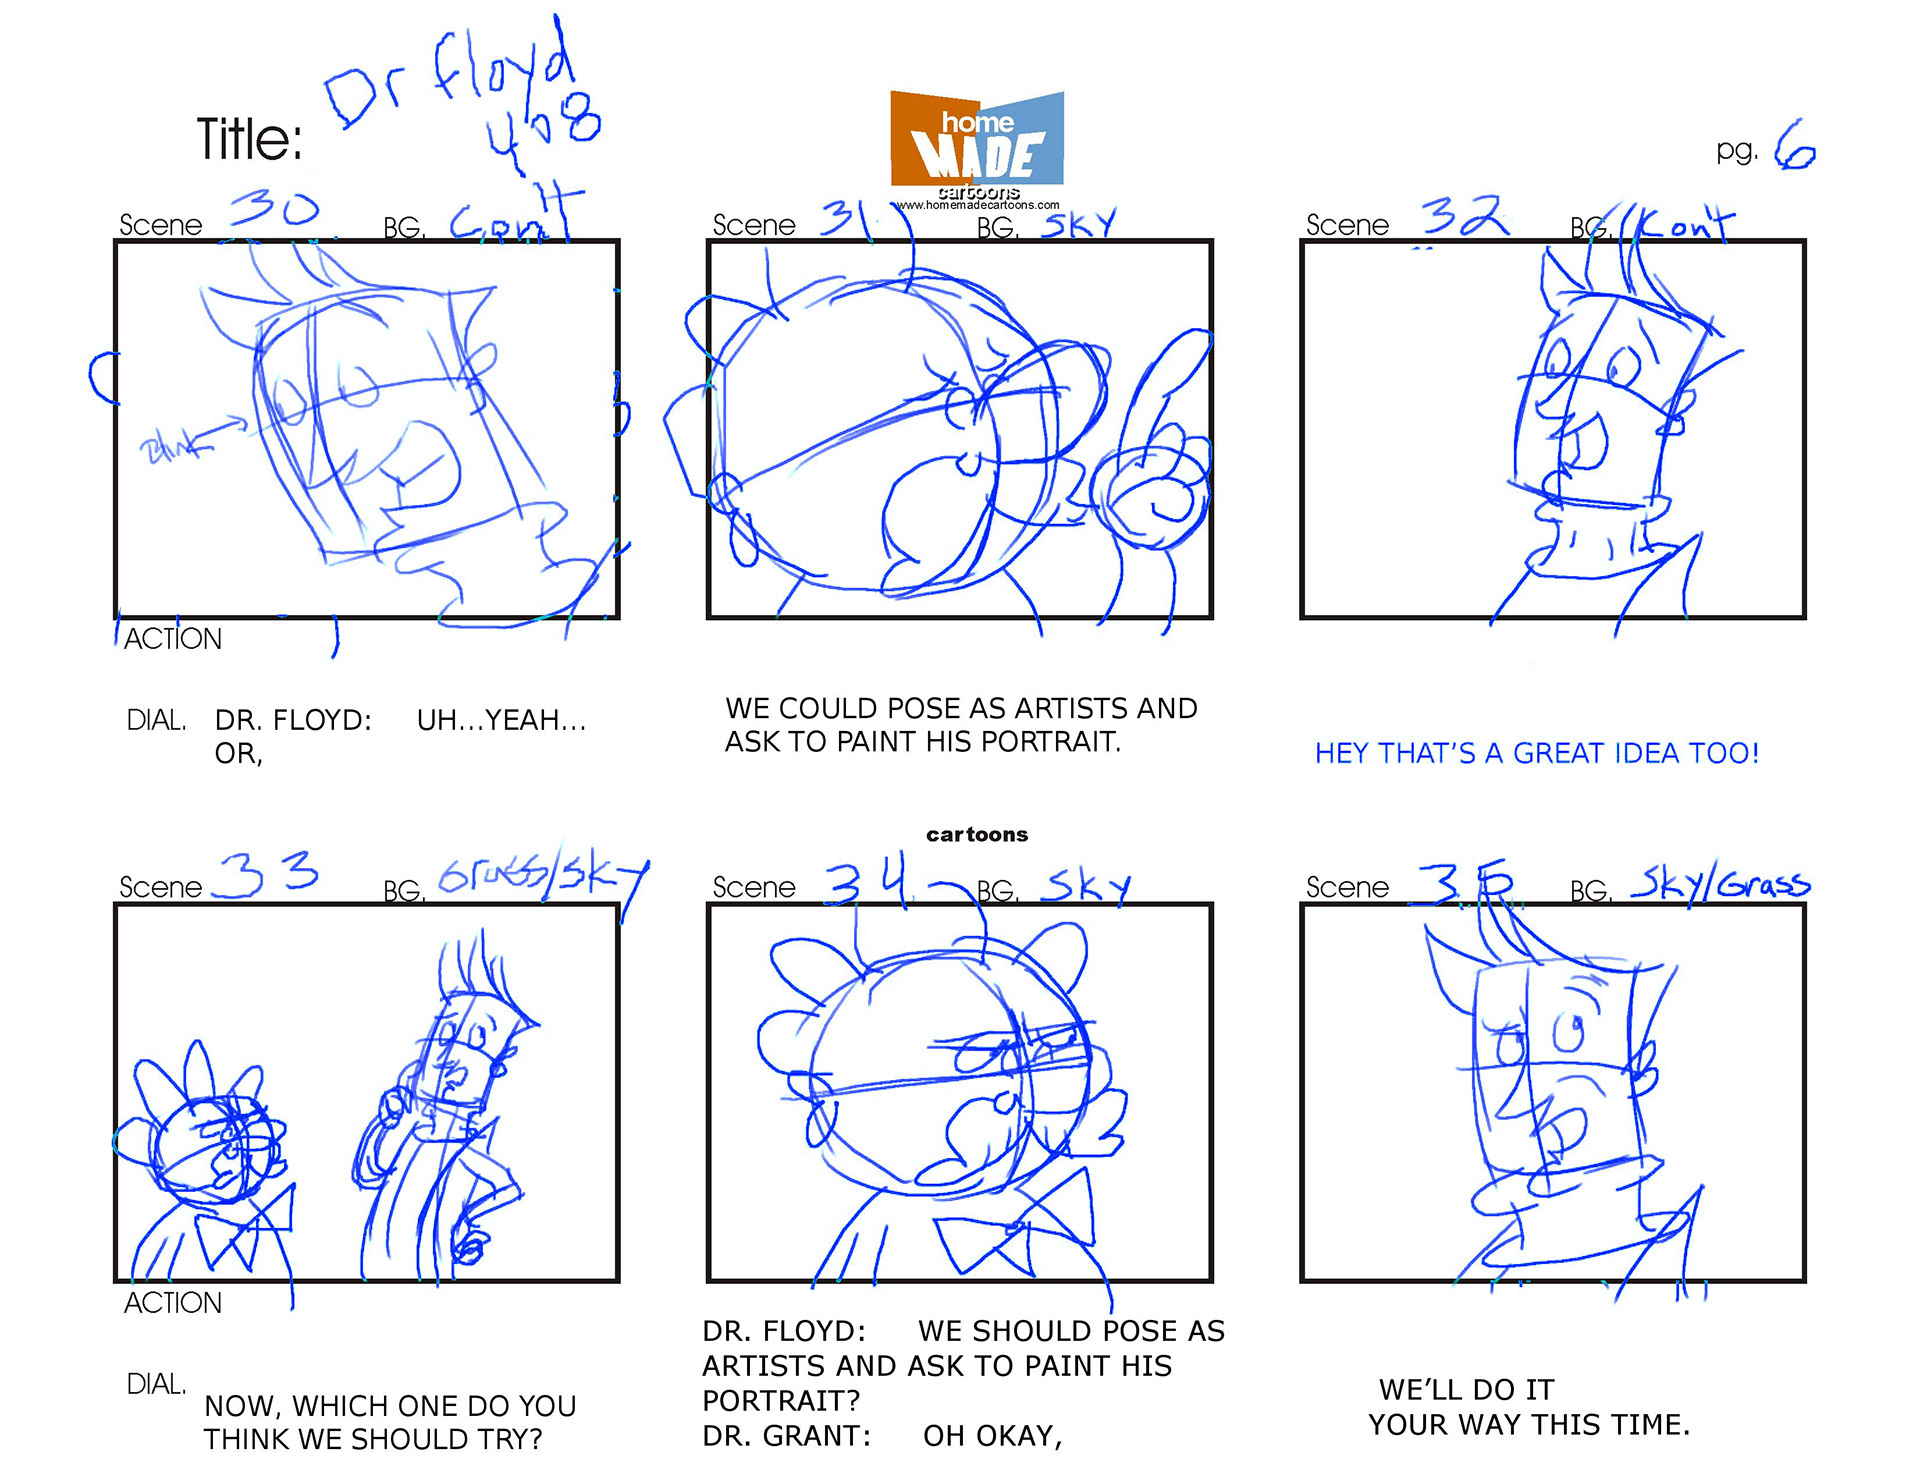
You don't need to be an amazing illustrator to story-board.
This is about linking your ideas [click to enlarge].
Bright is better
Always have plenty of light in the room. If you're recording in a room where you have a strong light behind you, try to move so that the light is facing you (and behind the camera). If this isn't possible, try covering the window or light source with a curtain and then turn on the room lights. Darker rooms can lead to 'grainier' recordings with washed out colours so the brighter the room, the better the final image.
Sound is important
There's nothing worse than having a high quality video image with really poor quality sound. Where possible, pick a room that's quiet and free of background noise (including phones, television or kitchen etc).
Most modern laptops will have microphones built-in and these are great at picking up the sound in a room but you may need to be physically far away from them to video record your face. If that's the case, the quality of sound may be a little 'distant' and not very clear.
An easy way to remedy this is to use a microphone. Check out our audio page for advice on microphones and headsets and listen to the recorded samples below to hear the difference.
Dress for success!
This may be quite obvious but what you wear can potentially affect how your viewer engages. The same can be said for your background and the space you are filming in. Are there too many distracting items in the room (busy bookshelves, brightly coloured items, etc.)? You may want to 'tone down' the room a little so that the focus stays on you (or your subject).
Make sure all of the visual choices in your frame are intentional and test out what your shot looks like before you record the whole video!
Look into the lens
It is important to make eye contact with your intended audience. Where possible, look directly into the lens rather than at your image on screen (if you're using a webcam) - that way, you give the appearance of looking at your audience. Try to be as natural as possible - make sure you blink, move around a little and vary your speech so that you don't come across as a robot on screen. Making mistakes is perfectly fine but be aware of "umms" and "ahhhs" - they can be distracting.
Position your camera
To help you look directly at your audience, make sure that the camera is positioned at the right height so that you're not hunched or sitting in an awkward way. This may require you to raise your laptop using a stand, or if you have a desktop computer with a webcam, reposition it to the appropriate height. If you have a camcorder, the use of a tripod will make life a lot easier. Remember, make sure that the light source lighting you (or your subject) is behind the camera, otherwise the camera will most likely make you (or your subject) very dark and the background will be well exposed.
You're a natural
Now that everything is setup and ready to go, you can start recording. Remember, be natural - pretend you're in a classroom and be as engaging as you can. Watch your pace - too fast can be a challenge for your viewers and too slow can potentially disengage. Remember to blink, look at the lens as often as you can and ultimately, enjoy the process as this will come across in your recording.
Editing video
Once you have recorded your footage, it's time to edit. This page outlines all of our Swinburne supported software to get you going!
Video formats
Quicktime
The Quicktime multimedia framework and is a system capable of playing and encoding audio, video and image files. Most video files created using Quicktime end with the extensions .MOV, .MP4 or .M4V. Many different types of hardware and software can generate Quicktime movies.
In Windows, there are many applications that can generate Quicktime movies and packages that allow you to edit videos and will often give the option to output the final product in Quicktime format.
Windows Video Formats
Two popular formats on the Windows platform are Audio Video Interleave (AVI) and Windows Media Video (WMV) and are designed to provide a single file that incorporated synchronised vision and audio.
It is a very popular Windows video format as the file size, for an equivalent video, can be smaller than Quicktime and AVI.
HTML5 and web video
A newer standard for embedding videos directly within a browser has been developed over the last 4-5 years. This standard, known as HTML5 video, is designed to work directly within a web browser without the need to install special software such as Quicktime or Adobe Flash.
One of the big benefits is that the video file is displayed directly in the browser and does not require the installation of 3rd party software. The main issue currently is that not all browsers implement this standard equally. More information about HTML5 video formats.
Digital Literacies.
Tech Tips - Video
Tech Tips - Video